fiverris a company built on the model of listing temporary work positions. Freelancers work in a variety of workplaces, ranging from home to office. Fiverr serves as e-commerce platform to freelancers & companies to sell their services by using their gigs. Gig is basically an advertisement of services.
Step 1: Create an Account
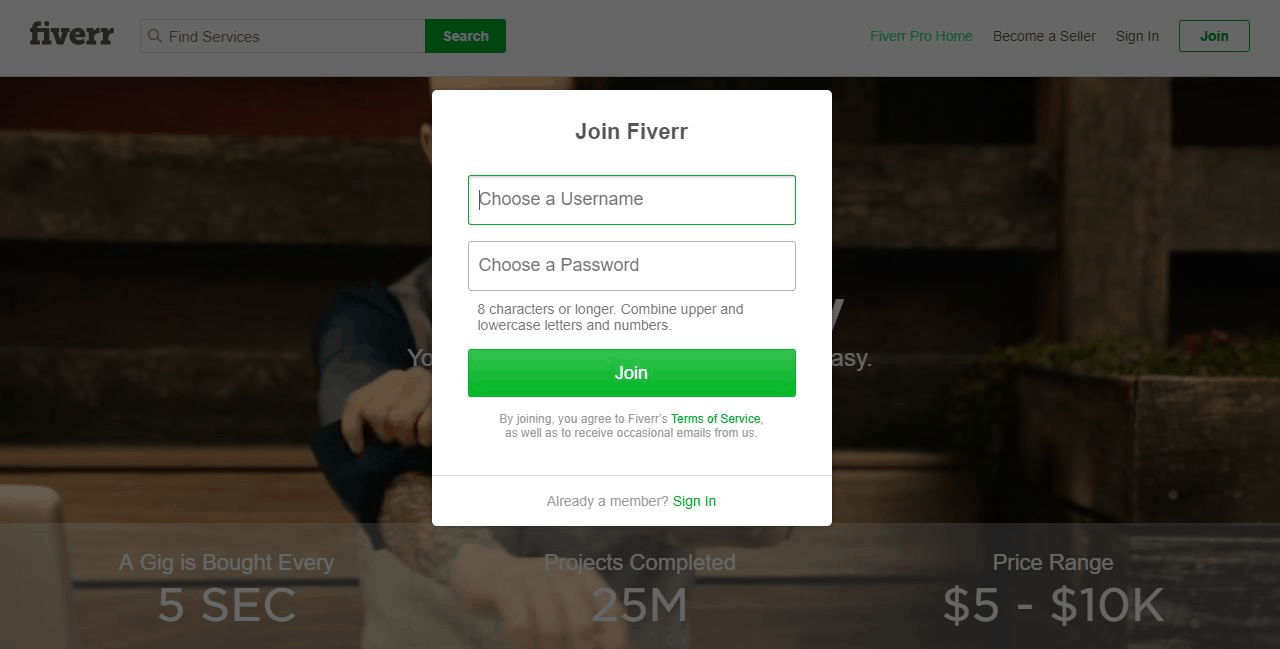
Before you can post your first gig, you’ll need to create an account.You can sign up by either using your Facebook account, Google account, or email address. Once you’ve chosen how you’d like to create an account, you’ll have to choose your username and either create a password or enter an email address. Once your account is created, simply go to your inbox, activate it, and go on to fill out your profile.
Step 2: Set Up Your Profile
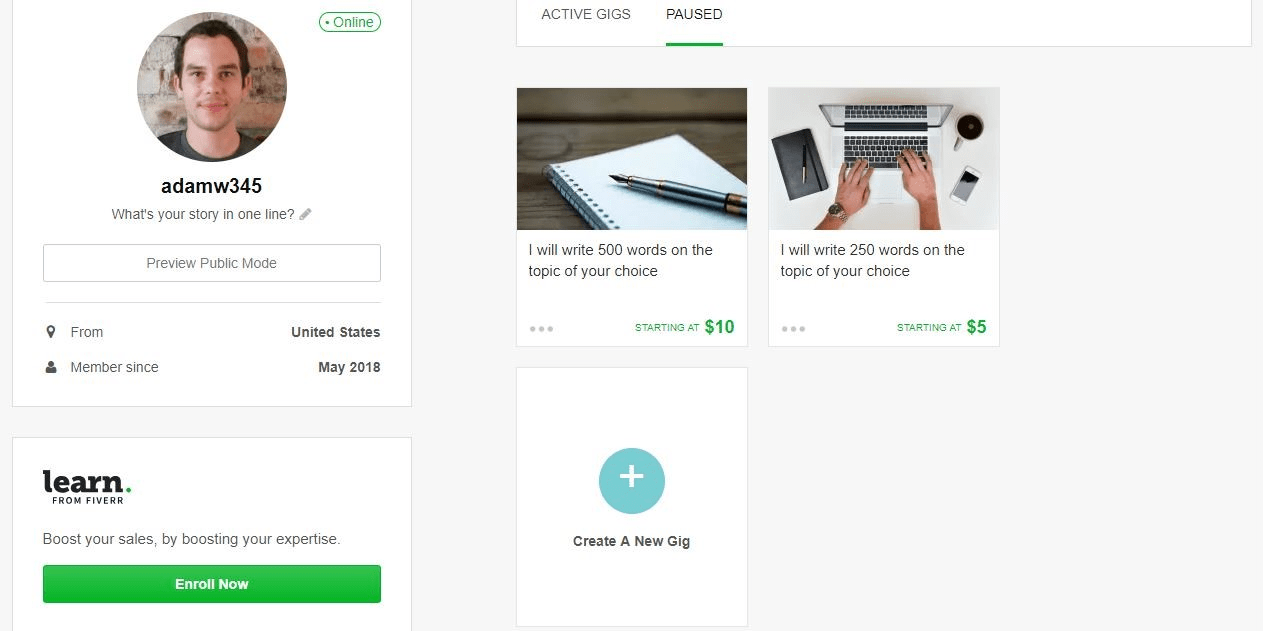
The first thing most buyers will check for—prior to paying for one of your gigs—is your profile. In it, Fiverr will ask you to include a photo and several key pieces of information, allowing potential buyers to get to know you a bit more.
Pro Tips
Make sure that you create a profile that delivers on each and every aspect:
- Profile Picture: Include a professional looking photo of your real face. This will help to ensure potential buyers trust that you’re a real person, in addition to making your profile appear more professional.
- Description: Use this section to introduce yourself to prospective buyers. Here, you can include your areas of expertise, experiences, or anything else you think is important—keep it relevant!
- Languages: Let others know what languages you speak and your level of fluency; this is incredibly important if your gig includes skills like writing or translating.
- Tests Taken: This part of your profile will display the tests that you’ve completed through Fiverr. Tests help to verify your skills, and can increase a potential buyer’s trust. Just be careful, as you’re only able to take a test twice every three months; however, Fiverr does give you the option to hide your tests scores if you do poorly.
- Skills: Here, you should include any skills applicable to the gigs you intend to create. These include abilities you’ve gained through past jobs, hobbies, or other life experiences. Fiverr only allows ten, so choose wisely.
- Education: Include where you attended college and your degrees.
- Certifications: List any additional certifications that may help you stand out from the crowd.
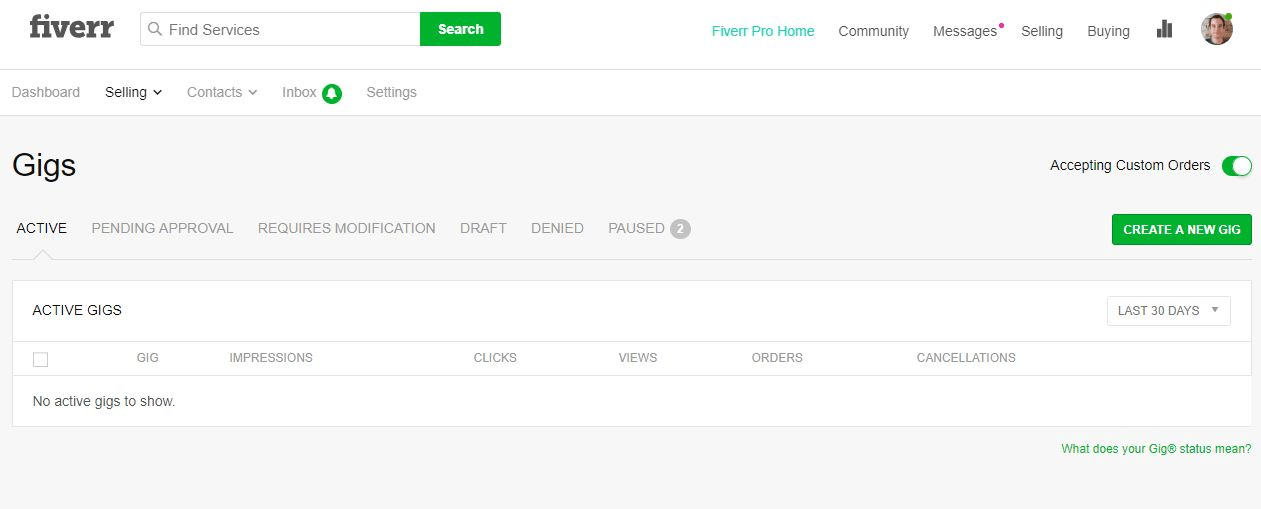
Step 3: Start a New GigOnce your profile has been set up, you can begin creating your first gig! To do this, go to the “Selling” menu along the top of the screen, and in the drop-down menu choose the “Gigs” option. From here, you simply need to click the “Create New Gig” button to start the process.
Step 4: Write Your Gig Overview
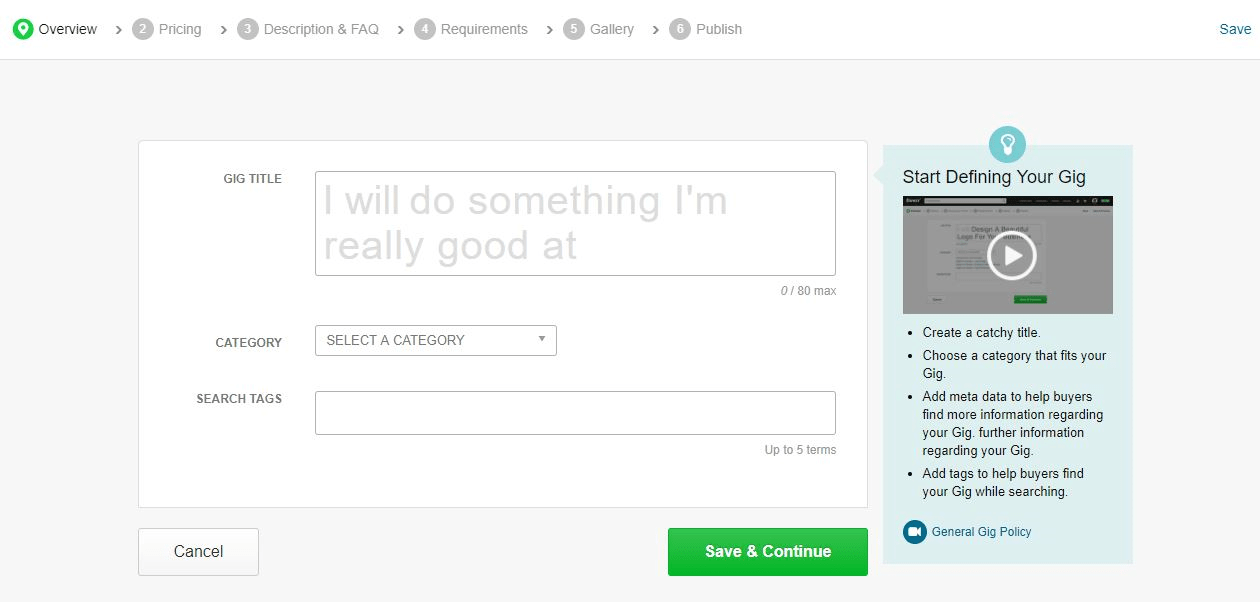
The first section you’ll need to complete is theGig Overview.Here, you’ll be required to fill out three boxes:
- The title of your gig
- The category that it falls under
- Relevant search tags
Pro Tips
Don’t skimp on this process. Keep the following in mind to write a compelling overview that will entice a potential client:
- Gig Title: You’re only allotted 80 characters, so make them count, and ensure that it’s clear and concise; you want your prospective buyers to know exactly what it is that you’re offering. Also, write something that’ll stand out from the crowd by keeping the title relatively original.
- Category: Based upon your title, Fiverr will automatically suggest a few categories and subcategories, and typically one will match your offering. Although, if none are appropriate, you’re free to choose from a plethora of options from their dropdown menu. Find the category and subcategory that best fit your gig.
- Search Tags: Put the terms you believe a buyer would be most likely to search for when looking for your service. You’re only allowed five terms, so be considerate. These will vary greatly depending on what you’re offering, so doing a bit of research into the most commonly searched terms in your category could help immensely.
Once complete, click the large green “Save and Continue” button along the bottom right of the screen to advance to the next section.
Step 5: Price Your Gig
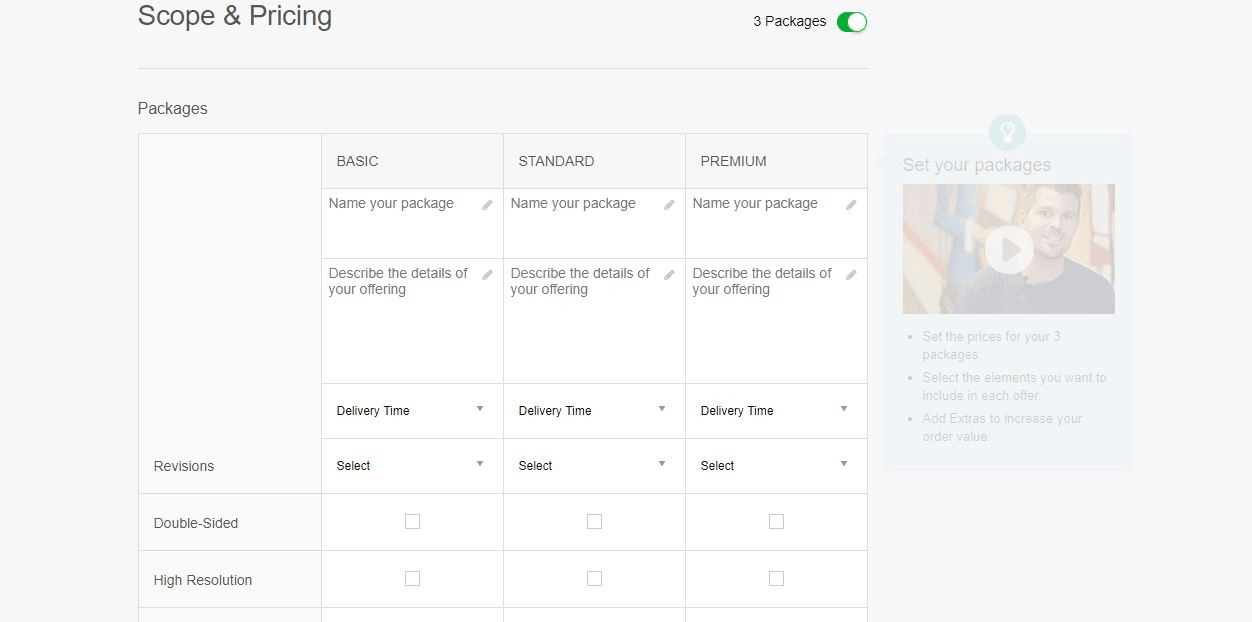
The pricing of your gigs has evolved quite a bit since Fiverr’s inception.The platform currently allows sellers to offer up to three different packages:
- Basic
- Standard
- Premium
Pro Tips
When filling out the scope and pricing section, there are some important things to keep in mind:
- Number of Packages: It’s not necessary for you to use all three packages, although many buyers do like additional premium options, so offer them where possible. Additionally, according to Fiverr, those that offer triple gig packages can earn up to 64% more per order.
- Name Your Package: Choose an eye-catching title for each of your packages, and make certain that the difference between them is crystal clear.
- Package Description: Briefly explain what’s included in each package, and why you’ve included it. You’re only allowed 100 characters here, so you may have to get creative to fit in everything you’d like to say. Just make sure the offerings are clear to any potential buyers.
- Delivery Time: How long you’ll take to complete a project. Depending on the scope of the work, this may vary greatly between packages.
- Revisions: The number of times you’ll alter your work upon the buyer’s request. Premium packages often include additional revisions.
- Price: Each package can be priced anywhere from $5 to $995 USD. Your basic package should always be priced lowest, and your premium the highest. Remember, you can always change your price later, so in the beginning, it may be smart to keep them low to help build reviews.
- My Gig Extras: Here, you can charge additional fees for whatever extras you’d like to add to your packages. There are some frequently used extras that can be chosen from a menu, such as extra fast delivery and additional revisions. If there’s an extra you’d like to include but isn’t available, Fiverr makes it easy to create your own. Simply click the “+ Add Gig Extra” option at the bottom of “My Gig Extras” and fill out its title, description, and price.
- Shipping: Fill in a shipping charge if you’re going to be sending a tangible product and require compensation. You’re given the option to choose multiple prices depending on the location.
Step 6: Give Your Gig a Description and FAQ
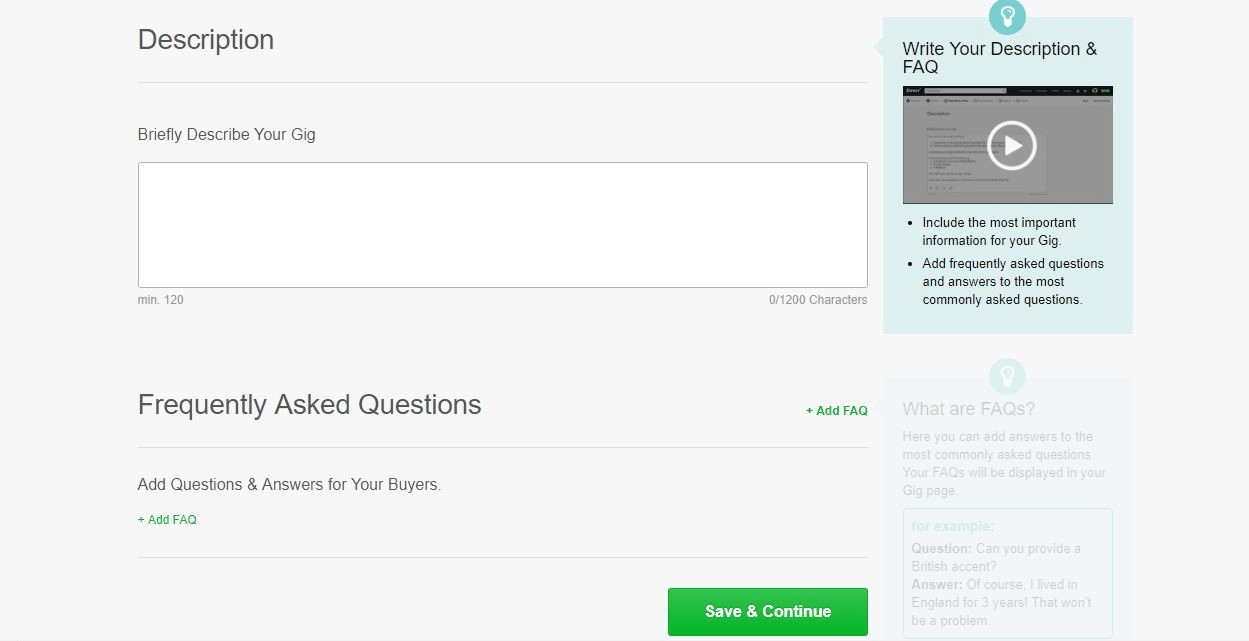
Along with your title,the description is one of the most important aspects of creating a gig that will land you clients.
Here, you’re expected to go into great detail about your offer. For this reason, there’s a 120 character minimum, and a 1200 character maximum for the description. Don’t leave any important details out, as your buyers should have an accurate enough description to determine whether or not what you’re offering will satisfy their needs.
Being too vague may lead to unhappy clients and negative feedback, potentially destroying future opportunities on this platform.
Once your description is completed, the frequently asked questions (FAQ) will come next. In this section, provide the answers to questions you’d expect to receive in regards to your gig.This will probably need to be revised later, as you may not know what many of your FAQ will be until after your gig has been active for some time. Click the “+ Add FAQ” button to include as many FAQ as needed.
Step 7: Establish Your Gig Requirements
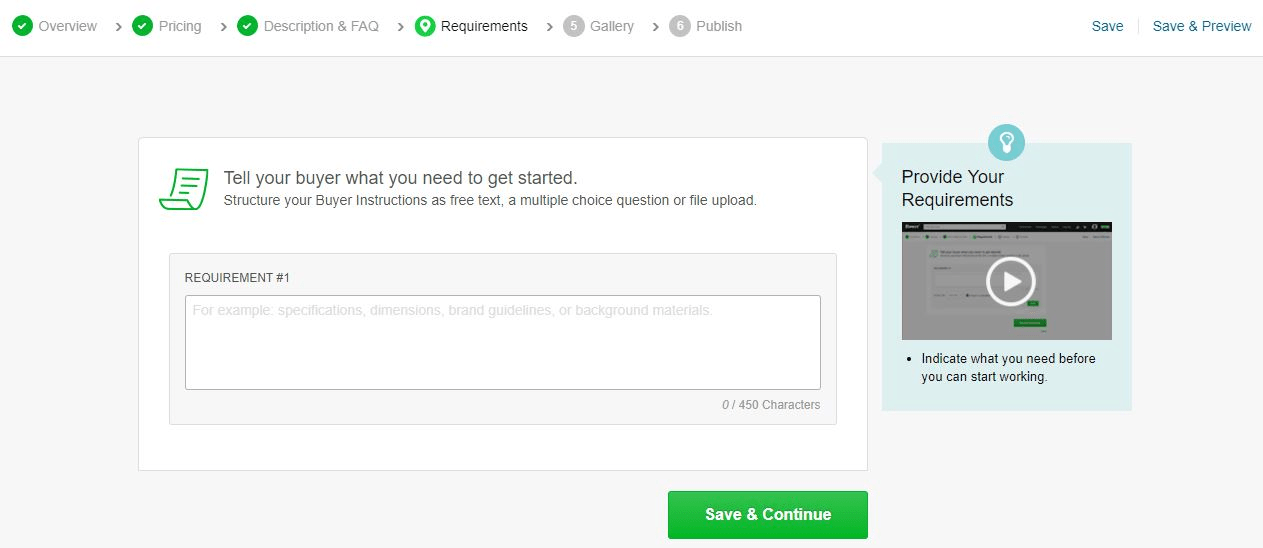
This is where you’ll include any requirements that are necessary for your buyer to supply in order for you to complete the job.
You’re given three different methods of asking for this information, including:
- Free Text: With free text, you write in your requirements, and the buyer is expected to fulfill them with a text message response (e.g. dimensions, weight, essay topic).
- Multiple Answer: This option allows you to ask a question and give multiple answer choices from which your buyer can choose. You need a minimum of two answers to choose from, and can add more simply by clicking the “+ Add Optional Answer” button.
- Attached File: If you require a file from your buyer in order to complete your work, choose this option. You need to specify what this file should include in the description window, and your buyer will be asked to upload it upon purchase.
You can add as many requirements as necessary by clicking the “+ Add Another Requirement” button that appears upon submission of your first. If the answer to a requirement is optional, you should unclick the “Answer is Mandatory” box.
Step 8: Add a Gallery to Your Gig
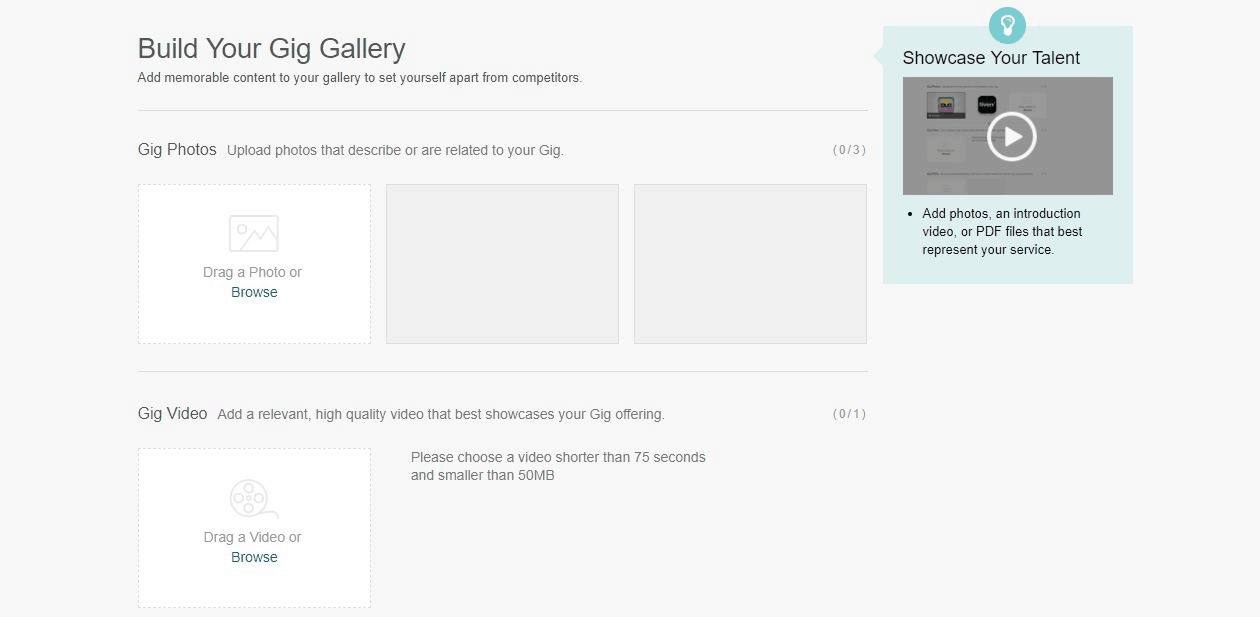
Your gig gallery can either be comprised of photos, a video, PDFs, or all of the above.The files you choose to put in your gallery should all be relevant to your gig’s offerings.
Pro Tips
Consider the following tips when determining the different file types for your gallery:
- Gig Photos: Most listings will include a photo that’s relevant to the service being sold, especially if it’s a graphic or web design gig. Even if the job is something that’s not easily photographed, such as a writing gig, still include a photo. Just choose something relevant to the job, even if it’s not necessarily a work sample. Fiverr allows up to three photos that can be dragged and dropped to your gallery. Make sure your images are plagiarism-free, otherwise your gig may not be approved.
- Gig Videos: Other than gigs in the animation and video categories, adding a gig video is optional, although they can be helpful. According to Fiverr, gigs that include a video receive up to 200% more orders, as well as enjoy 40% higher user engagement levels. Videos cannot exceed 75 seconds in length, nor can they include personal contacts.
- Gig PDFs: These should only be used when further clarification is needed, and a PDF is the best format for accomplishing this. This option is generally reserved for writers, and others whose work examples are most likely to be in a PDF text format. Fiverr allows for two PDFs to be attached to each gallery.
Step 9: Publish Your Gig
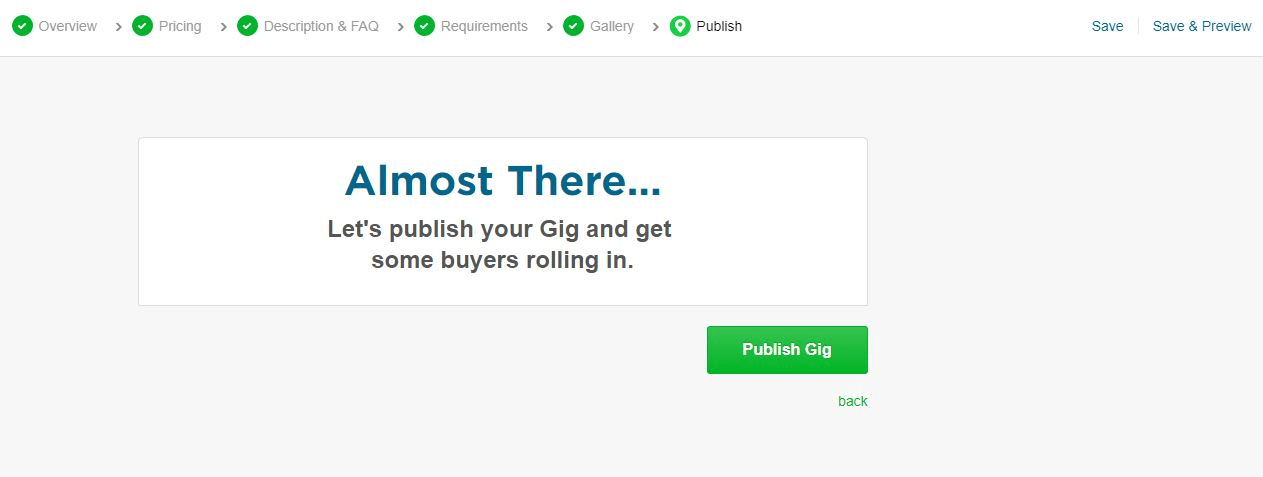
This is the final – and by far the quickest – step to creating your gig. Simply click the “Publish Gig” button and it’ll go live. Once live, your gig can then be promoted through a social platform, such as Facebook or Twitter, simply by clicking the provided link. According to Fiverr,gigs that are promoted through social platforms are up to three times as likely to sell, so it’s a good idea to consider this option.
Thanks for visiting this Article


